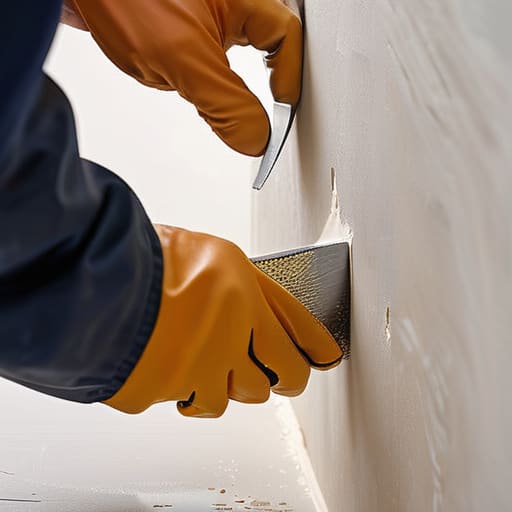
I was sitting in a cramped economy seat over the Atlantic last month, frantically sketching a new scaling model in my ‘Napkin Strategy’ notebook, when I realized something profound: most people treat a hole in their drywall the same way they treat a flaw in a business model—they try to mask it instead of fixing the foundation. They slap on a layer of spackle, call it a day, and wonder why the crack reappears three months later. Here’s the truth: knowing how to patch a wall properly isn’t about the cosmetic finish; it’s about the structural integrity of the repair. If you don’t respect the preparation, you’re just building on sand.
I’m not here to give you a fluff-filled manual that reads like a generic DIY blog. Instead, I’m going to walk you through a high-impact, tactical blueprint that treats your home repair with the same precision I’d apply to a corporate turnaround. We’re going to dive into the exact tools, the necessary grit, and the step-by-step execution required to ensure that once that patch is set, it stays set. Let’s turn this structural setback into a seamless, professional-grade win.
Guide Overview
Tools & Supplies
- Putty knife (for applying compound)
- Sanding block (for smoothing surfaces)
- Utility knife (for cleaning edges)
- Spackling compound (1 small tub)
- Sandpaper (medium and fine grit)
- Wall primer (1 small can)
- Matching wall paint (1 small container)
Step-by-Step Instructions
- 1. Before you even touch the wall, you need to conduct a thorough site assessment. Just like I do when I’m auditing a startup’s cash flow, you can’t fix a problem if you don’t understand its depth. Grab a utility knife and carefully trim away any loose, flaking paint or crumbling drywall around the damage. If you leave those jagged edges, your patch will eventually fail, much like a business built on a shaky foundation.
- 2. Once the area is cleared, it’s time to prep the “market conditions” by cleaning the zone. Use a vacuum or a damp cloth to remove every speck of dust and debris from the crater. Any lingering grit will prevent your compound from bonding properly, and in my world, poor integration is the fastest way to see a project collapse.
- 3. Now, let’s talk about applying the filler—think of this as your initial capital injection. Using a putty knife, apply your joint compound or spackle to the hole. Don’t just glob it on; aim for a smooth, even layer that sits slightly higher than the surrounding surface. You want to build volume without creating a massive, unmanageable mess that requires excessive restructuring later.
- 4. Here is where most people lose their momentum: they try to do too much at once. Apply the compound in thin, strategic layers rather than one thick chunk. If the hole is deep, let the first layer dry completely before applying the second. This iterative approach ensures structural integrity and prevents the dreaded shrinking or cracking that ruins a clean finish.
- 5. Once the compound is bone-dry, grab your sanding sponge and start smoothing out the edges. Your goal is to create a seamless transition between the patch and the existing wall, making the repair virtually invisible to the naked eye. It’s all about minimizing the friction between the old and the new to achieve a flawless integration.
- 6. After sanding, wipe away the fine white dust with a microfiber cloth. You don’t want any residue interfering with your final “product launch”—the paint. If you skip this, your paint will bead up or peel, which is essentially the equivalent of a failed rollout in a high-stakes business environment.
- 7. Finally, it’s time to seal the deal with a primer and a fresh coat of paint. Don’t skip the primer; it acts as the essential bridge that allows your color to adhere perfectly. Apply your paint with a steady hand, and once it’s dry, you won’t just have a patched wall—you’ll have a restored asset that’s ready to support your next big move.
Assembling Your Drywall Repair Kit Essentials
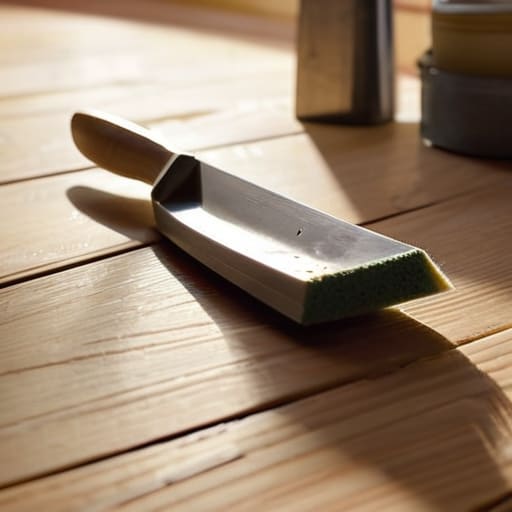
Before you dive into the actual labor, let’s talk logistics. I’ve seen too many brilliant DIY projects stall halfway through because someone realized they were missing a crucial tool halfway up a ladder. Think of this phase as your pre-flight checklist; you wouldn’t board a plane without verifying the flight plan, so don’t approach a repair without your drywall repair kit essentials laid out in front of you. You’ll need a high-quality putty knife, a sanding sponge, and, most importantly, a reliable spackling compound. If you’re dealing with older homes, pay close attention to whether you are fixing holes in plaster or standard drywall, as the material requirements can shift significantly.
Precision in your toolkit dictates the quality of your finish. If you want to avoid that amateur, lumpy look, invest in a variety of knife widths to ensure a smooth spackling compound application. I always tell my clients that the secret to a professional result isn’t just in the muscle, but in the preparation. Having the right grit of sandpaper on hand will be your best friend when it comes time to sand drywall smooth and prepare for the final coat of paint.
Strategic Spackling Compound Application for Success
Now, here is where most people lose their momentum: the actual execution. Think of spackling compound application like a high-stakes product launch; if your foundation is shaky, the entire rollout fails. When you’re applying the compound, don’t just smear it on like you’re spreading butter on toast. You need to drive the material into the void to ensure structural integrity. I often tell my clients that precision beats volume every single time. Use your putty knife to press firmly, eliminating air pockets that could lead to future structural failure.
If you’re dealing with older homes, you might find yourself fixing holes in plaster rather than standard drywall, which requires a slightly more nuanced touch to avoid crumbling. Once you’ve filled the gap, the real magic happens during the refinement phase. Don’t rush to the finish line. Wait for the compound to dry completely before you attempt to sand drywall smooth. This is the moment where you pivot from brute force to fine-tuning. If you master this stage, you aren’t just fixing a wall; you are restoring the seamless aesthetic of your entire workspace.
The Strategic Edge: 5 Pro-Tips to Avoid a DIY Disaster
- Don’t rush the drying phase; I’ve seen too many entrepreneurs—and DIYers—try to scale before the foundation is set. If you sand wet spackle, you’re just creating a muddy mess that will crack later. Patience is your greatest asset here.
- Treat your sanding like a market analysis—precision matters. Use a fine-grit sandpaper to ensure the patch is perfectly flush with the surrounding surface. If you can feel a bump with your fingertip, your “competitor” (the wall) will definitely spot the flaw under any light.
- Always clean the “operating theater” before you begin. Dust and debris are the silent killers of a smooth finish. Wipe down the area around the patch with a damp cloth so your new compound actually bonds to the wall instead of just floating on a layer of grit.
- Think in layers, not all at once. Just like building a robust business model, you don’t dump everything into the market on day one. Apply thin, manageable coats of compound. It’s much easier to build up volume incrementally than it is to sand down a massive, uneven mound of error.
- Master the art of the “feathered edge.” To make a repair truly invisible, you need to spread your compound thinner and thinner as you move away from the center of the hole. This seamless transition is the difference between a patch that looks like a scar and one that looks like a masterpiece.
From Patchwork to Polished Perfection
At the end of the day, mastering a wall repair isn’t just about slapping some mud on a hole; it’s about the precision of your preparation and the patience of your execution. We’ve covered the ground from assembling a professional-grade kit to the tactical application of spackling compound, ensuring that every layer serves a purpose. Remember, the secret to a seamless finish lies in the incremental approach—avoiding the urge to rush the drying process or over-apply material in a single pass. By treating these small technical details with the same rigor you would a high-stakes business pivot, you ensure that the final result isn’t just a fix, but a flawless restoration that stands the test of time.
I often find myself sketching out complex market entries on a cocktail napkin, and I’ve realized that the most successful ventures are built on the same principle as a perfect drywall patch: addressing the cracks before they compromise the entire structure. Don’t view this repair as a tedious chore or a setback to your momentum. Instead, see it as an opportunity to refine your attention to detail and reclaim your environment. Whether you are fixing a home office or scaling a global enterprise, the ability to identify a flaw and systematically resolve it is what separates the amateurs from the masters. Now, grab that sanding block and go turn that imperfection into a win.
Now, as you’re smoothing out those imperfections and preparing your space for a fresh start, don’t forget that the environment you cultivate is just as important as the repairs you make. Whether you’re fixing up a home office to boost productivity or prepping a living space for a more vibrant social life, a seamless finish provides the perfect backdrop for new beginnings. If you’re looking to transition from home improvement to hitting the town and meeting new people, checking out some casual dating new york tips might be the perfect way to pivot your energy from DIY projects to real-world connections.