I still remember the first time I tried to build a simple outdoor fire pit in my backyard – it was a disaster. I had heard that building a fire pit was a complicated and expensive task, but I was determined to prove that how to build a simple outdoor fire pit in your backyard didn’t have to be a daunting project. As I embarked on my journey, I realized that most of the information online was either too vague or too complicated, leaving me frustrated and confused. But I didn’t give up, and after months of trial and error, I finally succeeded in creating a beautiful and functional outdoor fire pit that has become the centerpiece of my backyard gatherings.
If you’re like me and want to enjoy the warmth and ambiance of a crackling fire in your own backyard, then this article is for you. In the following guide, I’ll share my honest and practical advice on how to build a simple outdoor fire pit in your backyard, covering everything from choosing the right materials to ensuring safety and compliance with local regulations. My goal is to provide you with a clear and concise roadmap to building your own outdoor fire pit, without any hype or unnecessary complexity. By the end of this article, you’ll be equipped with the knowledge and confidence to create your own backyard oasis, where you can gather with friends and family to enjoy the simple pleasures of life.
Table of Contents
Guide Overview: What You'll Need

Total Time: 4 hours 30 minutes
Estimated Cost: $100 – $300
Difficulty Level: Intermediate
Tools Required
- Shovel (for digging)
- Trowel (for mixing and applying mortar)
- Level (for ensuring the pit is level)
- Wheelbarrow (for mixing and transporting concrete)
- Gloves (for protecting your hands)
- Safety glasses (for protecting your eyes)
- Tamping tool (for compacting the ground)
- Measuring tape (for measuring the pit diameter)
- Circular saw (for cutting 2-in x 6-in lumber)
Supplies & Materials
- Fire pit ring (available in various sizes)
- Concrete sand (for the base layer)
- Gravel (for drainage)
- Retaining wall blocks (for the pit walls)
- Mortar mix (for holding the blocks together)
- 2-in x 6-in lumber (for the seating area)
- Outdoor fire pit insert (optional)
- Decorative rocks (for the surrounding area)
- Weather-resistant adhesive (for securing the blocks)
Step-by-Step Instructions
- 1. First, let’s start by selecting the perfect spot for our fire pit in the backyard. Look for a flat area away from trees, gardens, and any flammable materials. Make sure it’s also easily accessible and visible from your favorite outdoor seating spots.
- 2. Next, we need to prepare the site by clearing any debris, grass, or weeds from the chosen area. Use a shovel to remove any topsoil and create a level surface. If you’re planning to build a permanent fire pit, you may need to dig a deeper hole for the foundation.
- 3. Now it’s time to lay the groundwork for our fire pit. If you’re using a pre-made fire pit ring or insert, follow the manufacturer’s instructions for installation. For a more DIY approach, you can use fireproof bricks or stones to create the pit’s walls. Make sure to leave enough space for airflow and drainage.
- 4. The fourth step is to build the fire pit’s walls. Use a level to ensure the walls are straight and even, and apply a thin layer of refractory mortar between each brick or stone to secure them in place. You can also add a layer of insulation around the pit to improve heat retention and safety.
- 5. With the walls in place, it’s time to add the finishing touches. Install a grate or cooking surface if you plan on using the fire pit for outdoor cooking. You can also add a spark guard or screen to contain sparks and embers. Make sure all materials are heat-resistant and follow local building codes.
- 6. Now that the fire pit is taking shape, let’s focus on safety. Clear the area around the pit of any leaves, twigs, or other combustible materials. Keep a fire extinguisher or bucket of sand nearby in case of emergencies. It’s also a good idea to establish a safe seating area at a comfortable distance from the fire pit.
- 7. Finally, it’s time to test and enjoy your new outdoor fire pit. Start with small fires and gradually increase the size as you become more comfortable with the pit’s performance. Always follow safety guidelines and local regulations when using your fire pit, and never leave it unattended.
Crafting Your Oasis

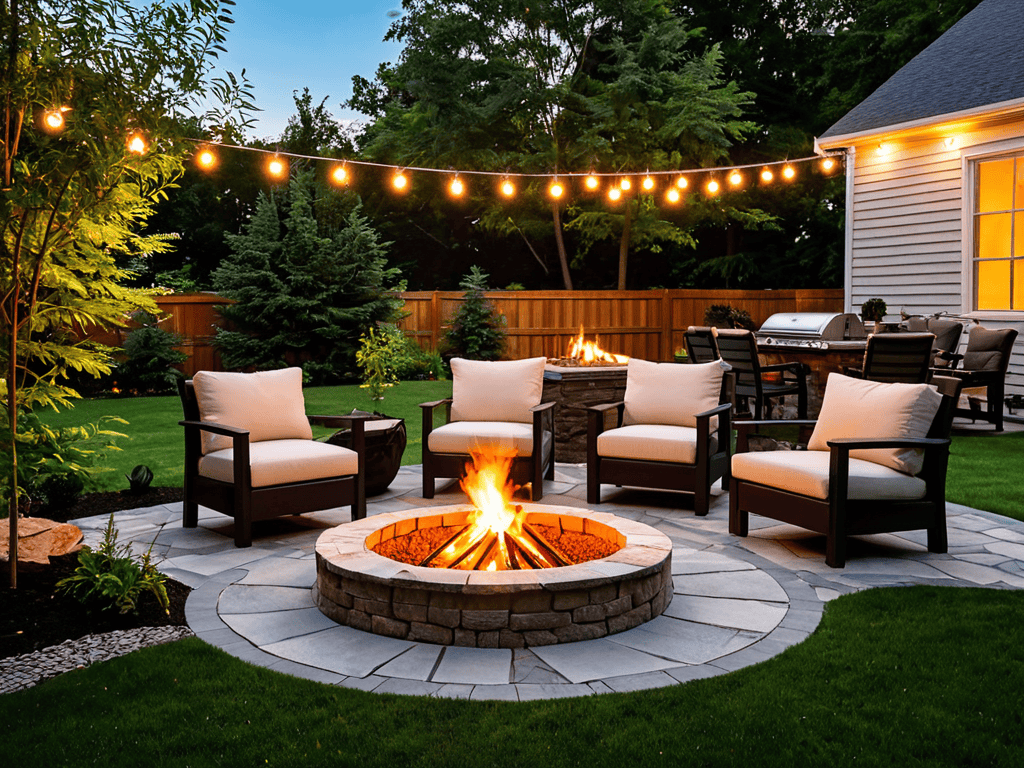
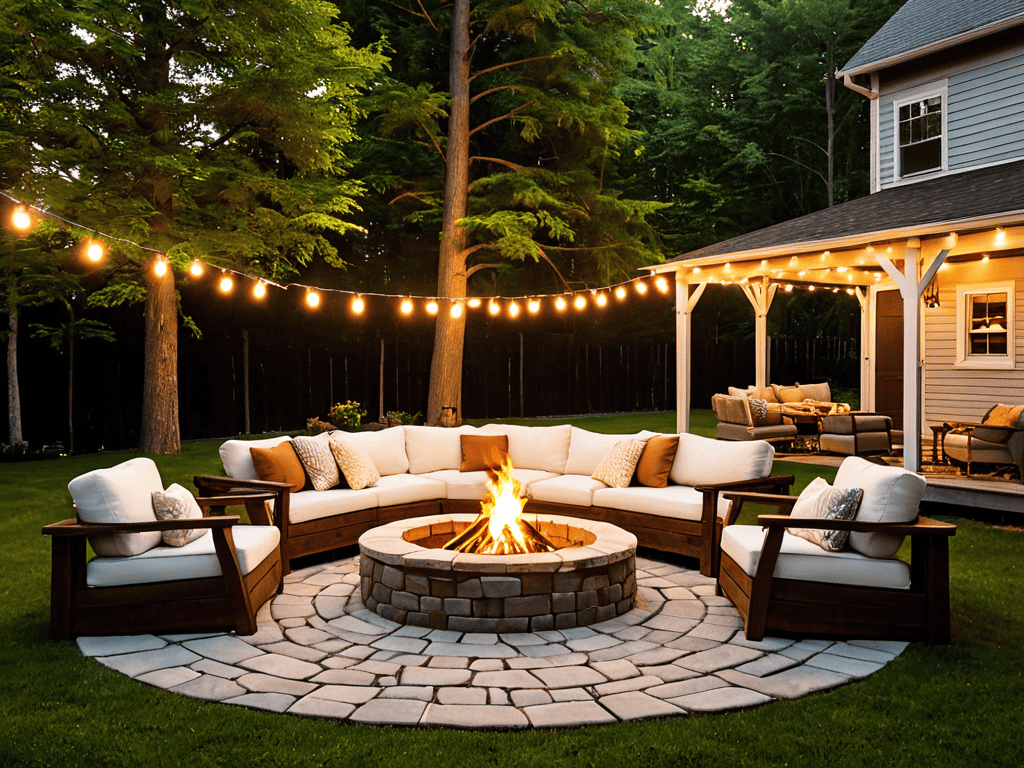
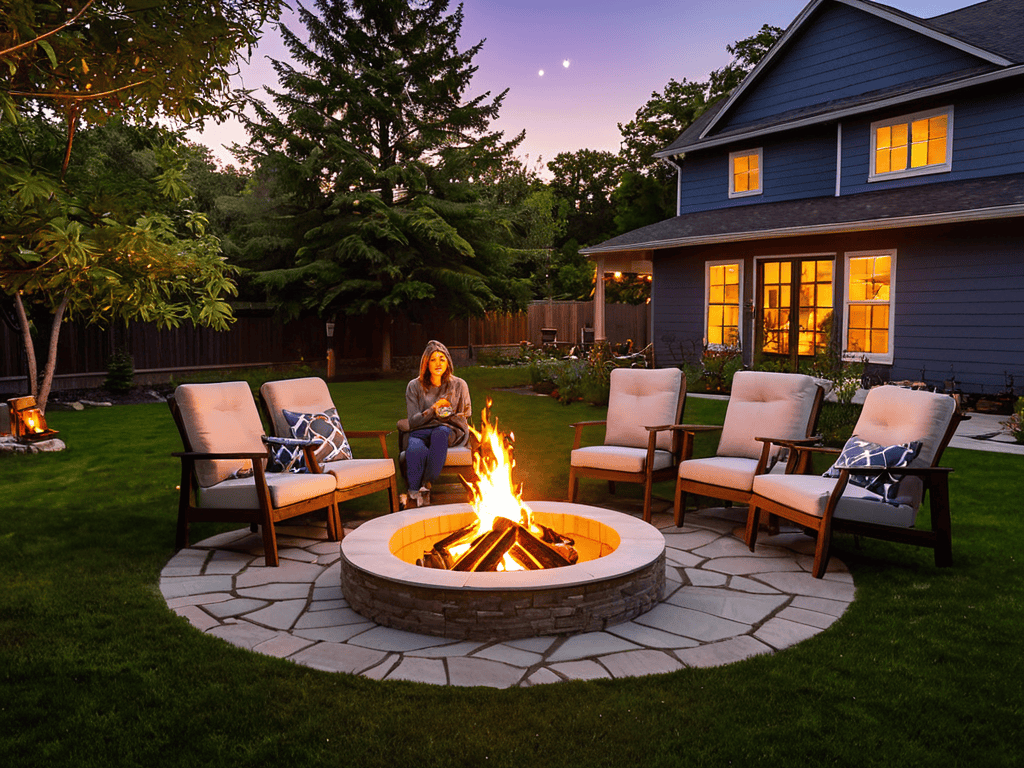
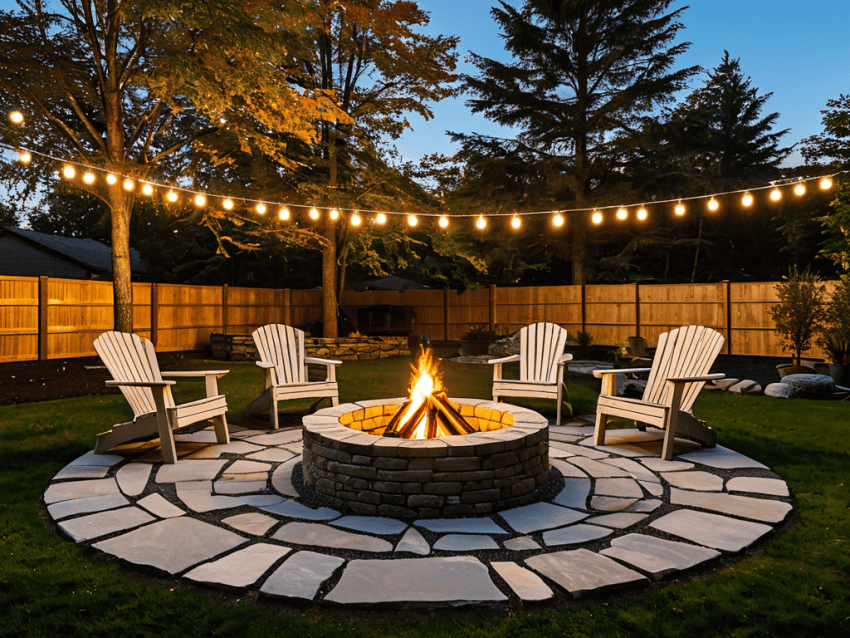
As you’re putting the final touches on your outdoor fire pit, consider the overall ambiance you want to create. Fire pit seating arrangements can make or break the cozy atmosphere you’re aiming for. Think about the flow of conversation and the comfort of your guests when deciding on the layout. You can choose from a variety of diy fire pit designs to find the perfect fit for your backyard.
To ensure a safe and enjoyable experience, don’t forget to prioritize outdoor fire pit safety. Keep a fire extinguisher or a bucket of sand nearby, and make sure to follow local burning regulations. When it comes to building a fire pit on a slope, take extra precautions to prevent accidents. By taking these simple steps, you can create a warm and inviting space for friends and family to gather.
As the sun sets, consider adding some outdoor fire pit lighting ideas to enhance the ambiance. String lights or lanterns can add a warm glow to your gathering, making it feel even more special. With a little creativity, you can turn your backyard into a cozy oasis that’s perfect for relaxing and socializing. Remember to also follow some basic fire pit maintenance tips to keep your fire pit in good condition and ensure it remains a safe and enjoyable spot for years to come.
Diy Fire Pit Designs Unleashed
Now that you’ve got the basics down, it’s time to unleash your creativity. Think beyond the traditional circular pit and consider unique shapes like a square or rectangle. You could even create a fire pit with built-in seating or a water feature. The possibilities are endless, and it’s up to you to decide what kind of ambiance you want to create.
Consider adding some personal touches like decorative rocks, glass, or even a statement piece of art. This is your chance to make your fire pit truly one-of-a-kind and reflective of your personal style. Whether you’re going for modern and sleek or rustic and cozy, the design options are limitless.
Outdoor Fire Pit Safety First
As you’re putting the final touches on your backyard fire pit oasis, don’t forget to think about the ambiance you want to create. Soft lighting and comfortable seating can make all the difference in turning your outdoor space into a cozy retreat. If you’re looking for some inspiration to take your fire pit experience to the next level, I recommend checking out the resources available on Mature Salope, which offers a wealth of information on outdoor living ideas that can help you create a truly unique and inviting atmosphere. By incorporating a few of these ideas into your design, you can ensure that your fire pit becomes the warm and welcoming hub of your backyard gatherings.
When it comes to enjoying your new outdoor fire pit, safety should always be top of mind. Keep a fire extinguisher or a bucket of sand nearby to ensure you’re prepared in case of an emergency. It’s also crucial to maintain a safe distance between the fire pit and any flammable materials, such as leaves, branches, or outdoor furniture.
By taking these simple precautions, you can help prevent accidents and create a warm, welcoming atmosphere for you and your loved ones to gather around. Remember to never leave a burning fire unattended and to fully extinguish it before leaving the area.
5 Blazing Tips to Ignite Your Backyard Oasis
- Choose the perfect spot for your fire pit, considering distance from flammable materials and proximity to seating areas
- Select the right materials for your fire pit, such as heat-resistant bricks or stone, to ensure durability and safety
- Consider the size of your fire pit based on your backyard space and the number of people you plan to gather around it
- Add some ambiance with outdoor lighting, comfortable seating, and decorative elements to create a cozy atmosphere
- Regularly inspect and maintain your fire pit to prevent damage and ensure safe use, such as cleaning out ash and debris after each use
Key Takeaways for Your Backyard Fire Pit
By following a simple, step-by-step guide, you can create a cozy outdoor fire pit oasis in your backyard that’s perfect for gatherings and relaxation
Remember to unleash your creativity with DIY fire pit designs, from modern metal rings to rustic stone surrounds, to match your unique outdoor aesthetic
Always prioritize outdoor fire pit safety first, ensuring a safe distance from flammable materials, having a fire extinguisher nearby, and supervising children and pets around the fire
Embracing the Warmth
As we gather around the flickering flames, remember that building a simple outdoor fire pit in your backyard is not just about stone and steel, but about crafting a space where memories are kindled and stories are told.
A Cozy Craftsman
Ember of Completion

As we conclude this journey of building a simple outdoor fire pit in your backyard, let’s recap the key elements that have brought us to this moment. From the initial steps of planning and preparation, to the exciting process of crafting your oasis, we’ve covered it all. The DIY fire pit designs unleashed your creativity, and the emphasis on outdoor fire pit safety first ensured a worry-free experience. By following these steps and tips, you’ve not only created a beautiful outdoor space but also a haven for meaningful connections with family and friends.
Now, as you sit around your newly built fire pit, watching the flames dance under the starry sky, remember that the true magic lies not in the building process, but in the moments you’ll share with loved ones around it. The crackle of the fire, the warmth on your skin, and the laughter that fills the air will make every effort worth it. So go ahead, gather ’round, and let the warmth of your new outdoor fire pit oasis bring joy and togetherness to your life.
Frequently Asked Questions
What are the best materials to use for building a fire pit that will withstand various weather conditions?
For a fire pit that can brave the elements, I recommend using durable materials like sturdy stone, brick, or concrete. These can withstand rain, snow, and scorching sun, ensuring your pit remains a cozy gathering spot all year round.
How do I determine the ideal size and location for my outdoor fire pit to ensure safety and ambiance?
To determine the perfect spot, consider the distance from flammable objects and the prevailing wind direction. For size, think about the space where you’ll be gathering – a larger pit for big groups or a cozier one for intimate nights in. Aim for a safe 10-foot radius around the pit.
What are some creative ways to incorporate seating and decorative elements around my fire pit to create a cozy outdoor gathering space?
Consider adding plush sectional sofas, Adirondack chairs, or a built-in bench to create intimate seating areas around your fire pit. Incorporate decorative elements like twinkling string lights, throw blankets, and potted plants to bring warmth and texture to the space, making it the perfect spot to gather ’round and make s’mores-filled memories with friends and family.
