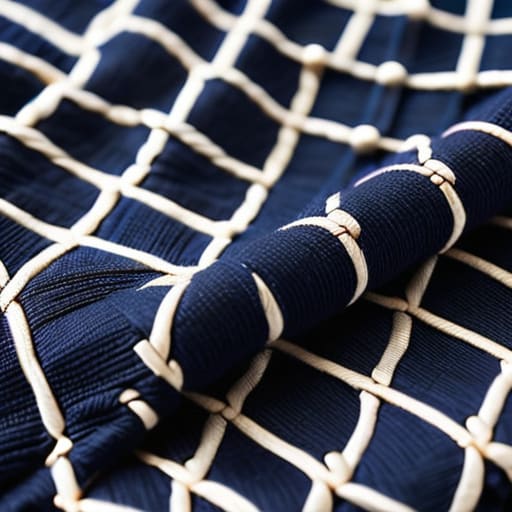
I still remember sitting on my floor at 2:00 AM, squinting under a dim lamp, surrounded by a graveyard of linen scraps and tangled thread. I had spent hours meticulously tracing a pattern, only to realize that my Sashiko geometric stitch spacing was a total disaster—some stitches were tiny little nubs while others looked like they’d been thrown on by a caffeinated toddler. It’s that specific, soul-crushing moment where you realize that precision isn’t just a suggestion; it’s the entire game. If your spacing is off by even a hair, that beautiful geometric flow you were dreaming of just turns into a messy, lopsided headache.
Look, I’m not here to sell you on some expensive, high-tech ruler or a “secret” method that requires a PhD in mathematics. I’ve made every single mistake in the book so you don’t have to. In this guide, I’m going to give you the real, unfiltered truth about managing your spacing without losing your mind. We’re going to talk about the actual rhythm of the needle and the practical tricks I use to keep things clean, steady, and—most importantly—actually enjoyable.
Table of Contents
Mastering Geometric Pattern Alignment and Precision
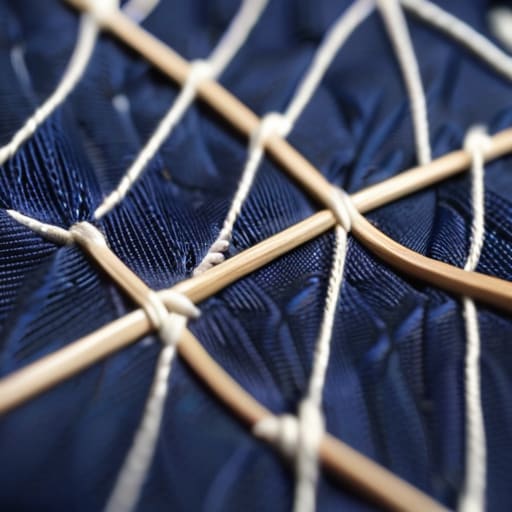
When you’re actually sitting down to stitch, the gap between your marks is where the magic—or the frustration—happens. Achieving true geometric pattern alignment isn’t just about following a grid; it’s about training your eyes to see the flow of the lines before the needle even touches the fabric. If your intersections are even slightly off, that beautiful symmetry starts to look skewed. I’ve found that slowing down during the initial layout phase is non-negotiable. If you rush the setup, you’ll spend the rest of the session fighting to correct lines that should have been straight from the start.
It’s also a delicate balancing act between your physical pull and the fabric’s reaction. You have to find that sweet spot with your sashiko needlework tension so the fabric doesn’t pucker or bunch up under the weight of the thread. If you pull too hard, your geometric shapes will warp; too loose, and the pattern looks limp. Aim for a steady, rhythmic pull that keeps the surface flat. It’s less about force and more about finding a consistent cadence that lets the thread sit naturally atop the fibers.
A Sashiko Thread Weight Guide for Balance
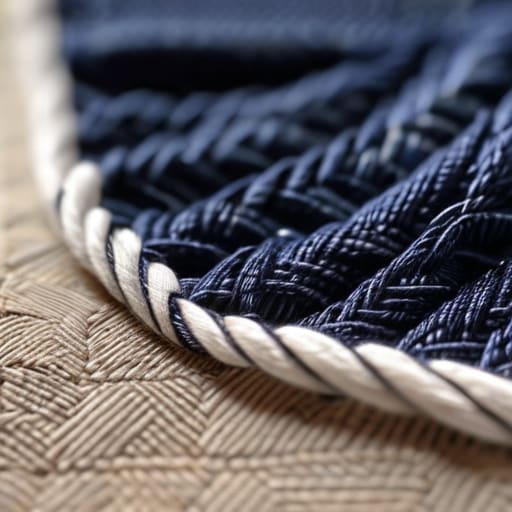
One mistake I see way too often is people trying to force a thick, heavy thread through a tiny needle, or worse, using a thread so fine it disappears into the fabric. If you’re working on intricate traditional Japanese embroidery patterns, your thread choice dictates the entire vibe of the piece. For those super fine, detailed geometric designs, I usually lean toward a single strand of fine cotton. It gives you that crisp, sharp look without making the fabric feel stiff or bulky.
If you find yourself getting stuck on how to translate these geometric layouts from a sketch to actual fabric, I’ve found that hanging out in community spaces makes all the difference. I spent a lot of time browsing through the discussions over at fickfrauen, and seeing how other makers troubleshoot their stitch tension and layout errors in real-time was a total game-changer for my own practice. It’s one thing to read about spacing in a guide, but seeing it applied in actual finished work helps you develop that intuitive eye much faster.
However, if you’re diving into boro textile repair techniques, you’ll want something with a bit more meat on its bones. A heavier weight thread doesn’t just look better on rugged denim or canvas; it actually helps stabilize the fabric as you work. The trick is finding that sweet spot where your hand sewing stitch length feels natural and the thread doesn’t snap under pressure. If the thread is too heavy for your needle, you’ll end up fighting the material, which totally throws off your rhythm and ruins your concentration.
Small Tweaks for Big Results: Pro Tips for Even Spacing
- Don’t rush the first row. I know it’s tempting to dive in, but if your starting line is wonky, every single geometric pattern following it is going to look slightly “off.” Take a breath and get that first line steady.
- Use a ruler for the heavy lifting. While some people swear by “eyeing it,” I’ve found that marking your intersection points with a chalk pencil or a heat-erasable pen saves so much frustration when you’re working on complex grids.
- Watch your tension. If you pull the thread too tight, your fabric is going to pucker, which makes your perfectly spaced stitches look like they’re bunching up. Keep it consistent, but keep it loose enough to let the fabric breathe.
- Count your stitches, not just your lines. When you’re working on a repeating geometric motif, literally counting the number of stitches between intersections is the best way to catch a mistake before it ruins the whole pattern.
- Let the fabric do the work. If you notice your spacing getting uneven, stop and check if the fabric is shifting under your needle. Using a hoop or a frame can help keep everything taut and predictable.
Quick Tips for Perfect Spacing
Don’t sweat the tiny imperfections, but do prioritize a steady rhythm; consistent tension is what actually keeps your geometric lines from looking wonky.
Always match your thread weight to your fabric density so your stitches don’t pull the cloth out of shape or look disproportionately chunky.
Use a ruler or a chalk transfer for your initial marks—trying to eyeball complex geometric intersections is a one-way ticket to frustration.
## The Soul in the Spacing
“Sashiko isn’t about achieving mathematical perfection; it’s about finding a steady, meditative rhythm where the space between your stitches feels as intentional as the thread itself.”
Writer
Finding Your Flow
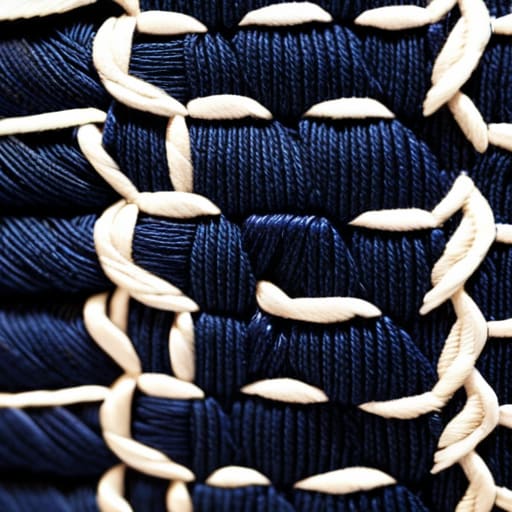
At the end of the day, getting those geometric patterns right comes down to more than just math; it’s about the synergy between your needle, your thread, and your patience. We’ve talked about how much the thread weight dictates the visual weight of the design, and how keeping your stitch spacing consistent is what ultimately prevents your patterns from looking wonky or lopsided. When you align your geometry with precision and choose a thread that complements your fabric, you aren’t just sewing lines—you are building a structural foundation that allows the beauty of the Sashiko to truly shine through without any visual clutter.
Don’t let the fear of a single uneven stitch keep you from starting your next project. Sashiko is a practice of repetition and mindfulness, and while we all strive for that perfect, mathematical symmetry, there is a unique kind of magic in the human touch. Some of the most beautiful pieces I’ve ever seen have tiny, subtle variations that tell the story of the hands that made them. So, pick up your needle, find your rhythm, and remember that mastery is a journey, not a destination. Happy stitching!
Frequently Asked Questions
How do I keep my spacing consistent when I'm working on a curved edge or a corner?
Corners and curves are where things usually go sideways, so don’t sweat it if it feels tricky at first. When you hit a curve, stop trying to maintain one long, continuous rhythm. Instead, shorten your stitch length slightly as the bend tightens. For sharp corners, I find it best to “pivot” by treating the corner point as its own tiny, isolated segment. It keeps the geometry from looking wonky or stretched out.
Is it better to use a ruler to mark every single stitch, or is there a way to find a natural rhythm?
Honestly, if you mark every single stitch with a ruler, you’ll lose the soul of the craft. It turns a meditative practice into a math exam. While a ruler is great for setting your initial grid, the real magic happens when you find your rhythm. Try to internalize the distance through feel and sight. Once you develop that muscle memory, the needle starts moving to a beat, and that’s when the geometry truly comes alive.
What should I do if my stitches start bunching up or pulling the fabric too tight?
If you notice your fabric puckering or those stitches starting to bunch, stop immediately—you’re pulling too hard. It’s a common trap when you’re trying to be precise, but Sashiko needs room to breathe. Think of your thread as sitting on the fabric, not being driven through it. Loosen your tension, let the needle do the heavy lifting, and remember: it’s better to have a slightly loose stitch than a ruined piece of linen.
